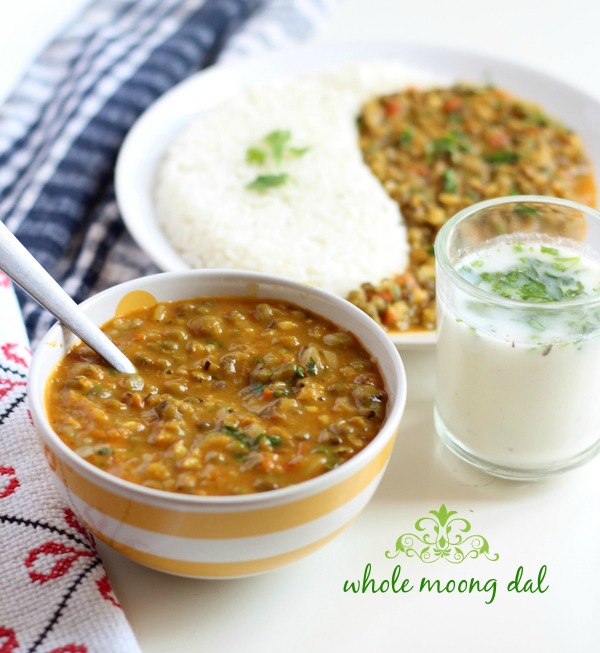
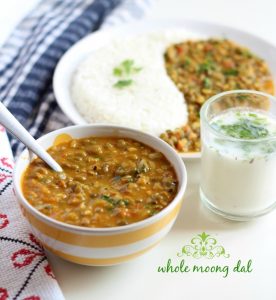
Green moong dal or sabut mung dal recipe – step by step: A delicious creamy Indian dal recipe of sabut mung dal or green dal cooked in onion and tomato gravy with aromatic indian dry spices. Isn’t it sound yummy? believe me its even tastier then it looks. Amazingly simple recipe of green mung dal is best you can have and make in no time with a little preparation.
Related: mix dal fry | lasooni dal | dal palak
A lot of time I run out of vegetables and one thing can comes to rescue is lentils / daals. Every Indian home have lots of them. Whether it is chana, mung, tuvar or masoor they all are great way of including protein in a vegetarian diet. Daals or lentils and pulses are great source of protein. One must include them in a healthy diet. Dal chawal is thus favorite dish we Indians love. A superb combination of carbohydrate rich steamed rice or chawal with protein packed daal.
This is an easy recipe of green mung dal or sabut mung dal. I have simply soaked the sabut mung overnight in water and then pressure cooked it the next day. If you are making this dal for lunch then atleast you must soak the dal in morning. Give a good 4-5 hours. That way dal becomes tender and will cook tastier. However in case you forgot to soak mung dal then no worry. Just pressure cook the dal in water by adding salt and a pinch of baking soda. That way the dal will cook faster.
As I mentioned earlier this is a pressure cooker recipe. Pressure cookers are boon to an indian kitchen – a lifeline 🙂 Without this little kitchen wear I am not sure how much time and effort we indian ladies will spend more. When you are making lunch for tiffin or dabba one of the gas stove is usually occupied with pressure cooker boiling the lentil. It helps in multitasking and making a full indian meal without spending too much of time cooking dal 🙂
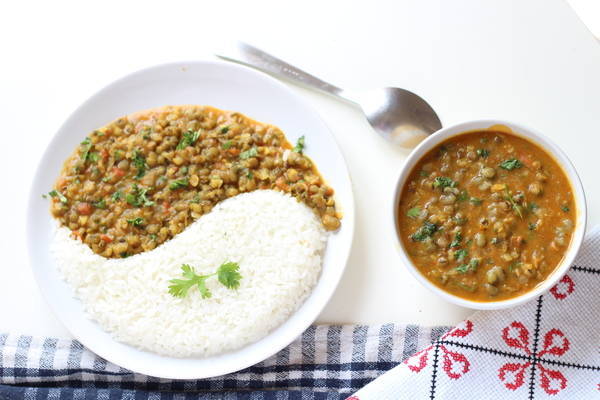
Let us come back to the recipe of green mung dal and check the step by step recipe with pictures.
Recipe of Whole green moong dal with step by step photos
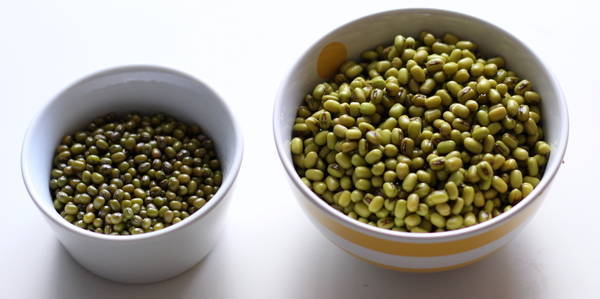
We need to soak the green moong or akha moong dal for atleast 4-5 hours. Soaking make it really delicious. Be careful while soaking because after soaking the dal tends to double in size. i.e If you soak half cup of moong dal after soaking it become 1 cup. Once soaked, I have pressure cooked this daal for 6-7 minutes (2 whistles) in water and salt. I have added salt while boiling and thus will add a little less salt in tomato onion gravy.


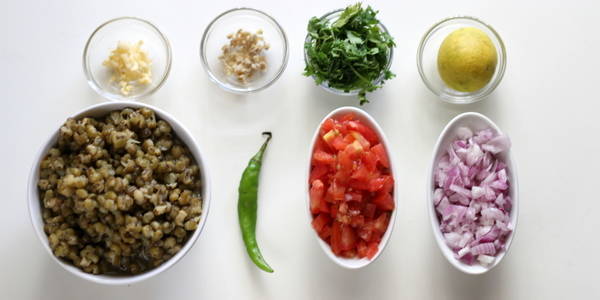
To make delicious green moong dal recipe we need few ingredients which are commonly available at home like ginger, garlic, tomato, onion, green chili, fresh coriander, lemon juice, dry indian spices and of course boiled moong dal. I have describe the quantities of each of these ingredients in detail in recipe box at the end of this post.


Heat oil in the flat skillet / pan and once the oil is hot add cumin seeds/jeera.
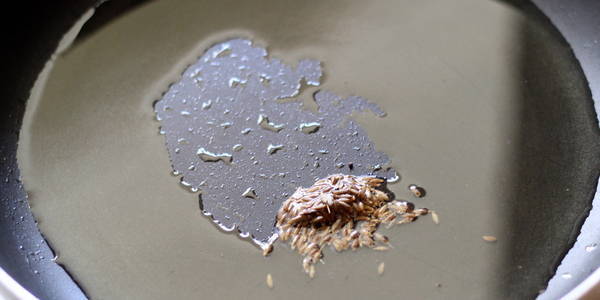


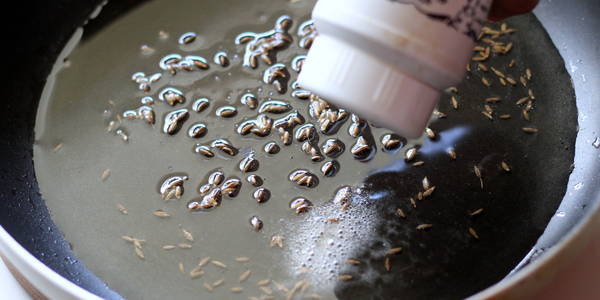
Let cumin seeds changes its color then add asafoetia/hing.


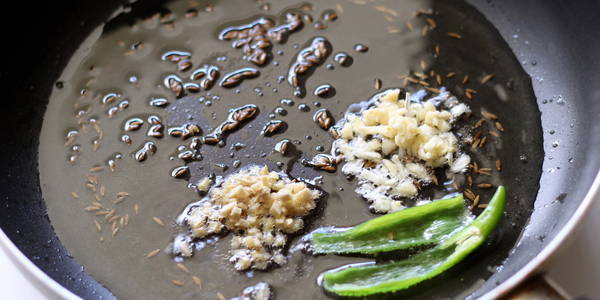
Add finely minced ginger and garlic and slit green chill. Cook for a minute until rawness of ginger garlic is gone.


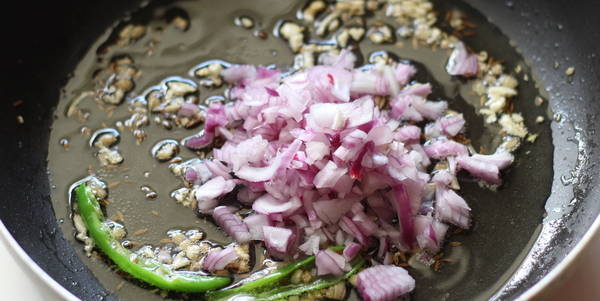
Now add finely chopped onions and saute for about 2 min.


Once onion are well cooked and turns golden in color, add the chopped tomatoes and cook until the tomatoes softens.
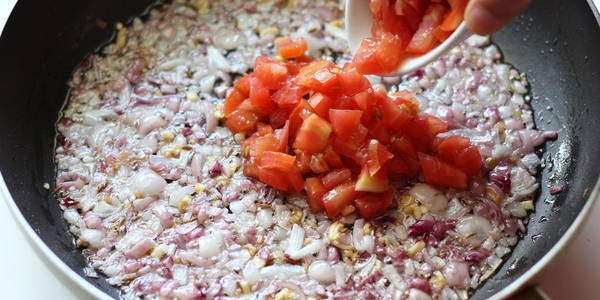


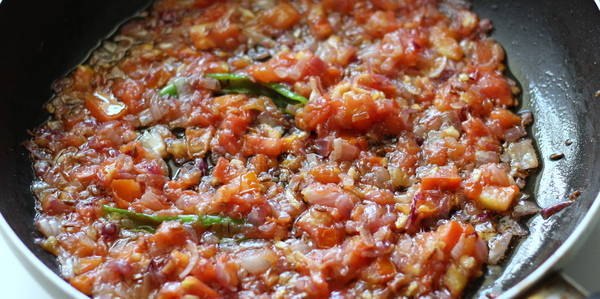
Cook the tomato onion for 3-4 minutes until the tomatoes cook nicely as shown here.


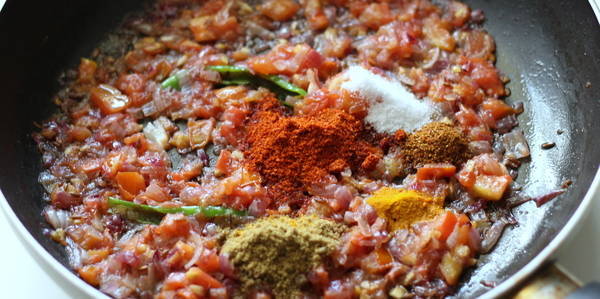
Now its time to add dry indian spices like red chili powder, coriander powder, turmeric powder, garam masala powder and salt to taste. Mix well all the ingredients. Let the spices cook for a minute.


Add the boiled green moong along with water and cook for about 5 min.
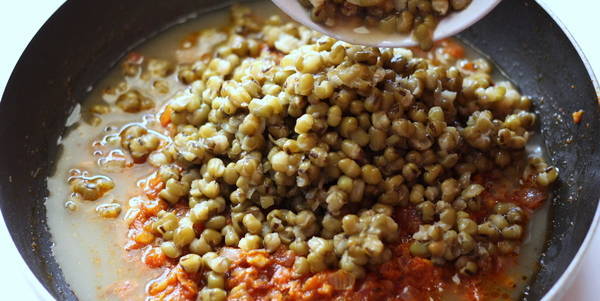


If required you can add some water to the moong dal. Adjust the consistency according to your liking.
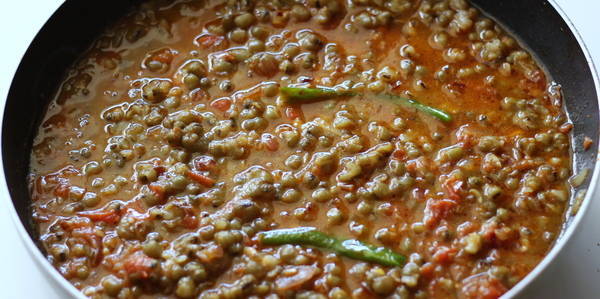


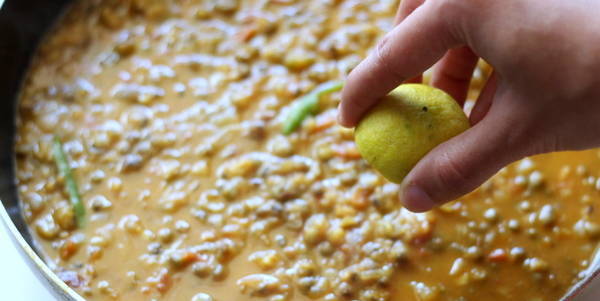
Once the moong dal is cooked well add lemon juice.


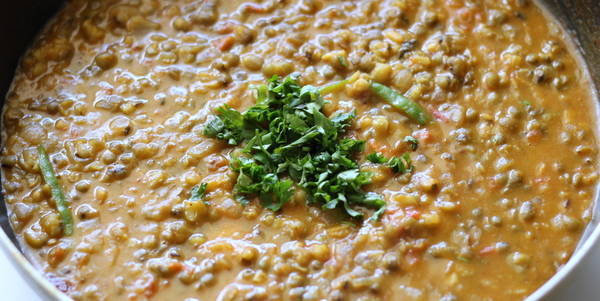
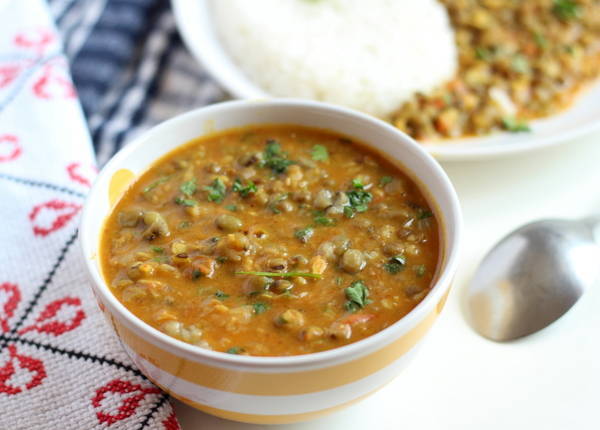
Finally garnish the green moong dal with freshly chopped coriander/dhaniya and serve this akha mung dal masala hot with steamed rice or jeera rice, phulka or chappati.


Let us check a quick recap of creamy delicious and tasty green mung dal recipe or sabut mung dal recipe.
Green moong Dal Recipe Box
- Green moong/akha mung: 1 cup, boiled
- Oil: 1 tbsp
- Cumin seeds: 1 tsp
- Asafoetida/hing: 1/4 tsp
- Onion : 1/2 cup, finely chopped
- Tomato: 1 cup, finely chopped
- Ginger:1/2 tsp, grated
- Garlic: 1/2 tsp, minced
- Green chili : 1 piece slit
- Red chili powder: 1 tsp
- Turmeric powder: 1/4 tsp
- Coriander powder: 2 tsp
- Garam masala powder: 1/4 tsp
- Lemon juice:1 tsp
- Coriander: 1 tbsp for garnish
- Salt: 1 1/2 tsp or to taste
- Wash green moong dal thoroughly in water and soak them in water overnight or atleast for 4 hour.
- Once the moong dal is soaked, boil the moong dal in pressure cooker for 6-7 minutes or until 2 whistles.
- Finely chop the onions and tomatoes. Grate the ginger and mince the garlic.
- Now in a flat pan heat oil and add cumin seeds/jeera.
- Once the cumin seeds changes it color add ginger, garlic and green chili and saute till the rawness of ginger is gone.
- Now throw in the chopped onion and cook for about 2 min until golden brown in color.
- Then add the tomatoes and cook till the tomatoes are soft.
- Add dry Indian spice like red chili powder, coriander powder, garam masala powder, turmeric powder and salt to taste Mix well all the ingredients and cook for about 3 min.
- Now add the boiled moong dal along with water and cook for 2 more min.
- Once moong dal is well cook at the end add the lemon juice.
- And garnish whole moong dal with freshly chopped coriander leaves and serve hot with roti, chapati, jeera rice or steamed rice.
2. You can temper the spices in ghee/clarified butter instead of oil to give shahi touch to this mung dal.
Recipes similar Dal Recipes to Green Moong Dal Recipe




 sumitra says
March 14, 2015 at 10:25 amVery good for old age pepol and for children.


 S says
August 7, 2015 at 7:16 pmHello, your recipe looks good and I am going to try it out today However, I don’t have a pressure cooker. So can you please tell me how long I should cook the dal on the stovetop and for how long and at what heat level like low or medium? I will really appreciate it. Thanks.


 Saima says
November 23, 2015 at 4:46 pmThis is such a simple and delicious recipe. I always follow your recipe whenever its moong daal.


 Dharmendra kumar sharma says
April 11, 2016 at 2:05 amIt is a nice receipe . i really want that type of receipe just because i want to impress my girlfriend.


 Gopi Patel says
June 16, 2016 at 11:01 amThank you 🙂


 Komal says
November 3, 2016 at 5:01 pmWow really tasty and healthy. Thanks for step by step by photos. nice presentation.


 Zuhair says
September 28, 2017 at 11:23 amBeautiful explanation, easy and very nutritious recipe, Blesses!